Recumbent Trike Seat Modification & Ergonomic Tuning: Mesh Seat vs. Hardshell Seat
Learn how to choose, modify, and tune a recumbent trike seat for pain-free endurance riding. Compare mesh vs. hardshell seats and dial in lumbar support, recline angle, and hip pressure relief.
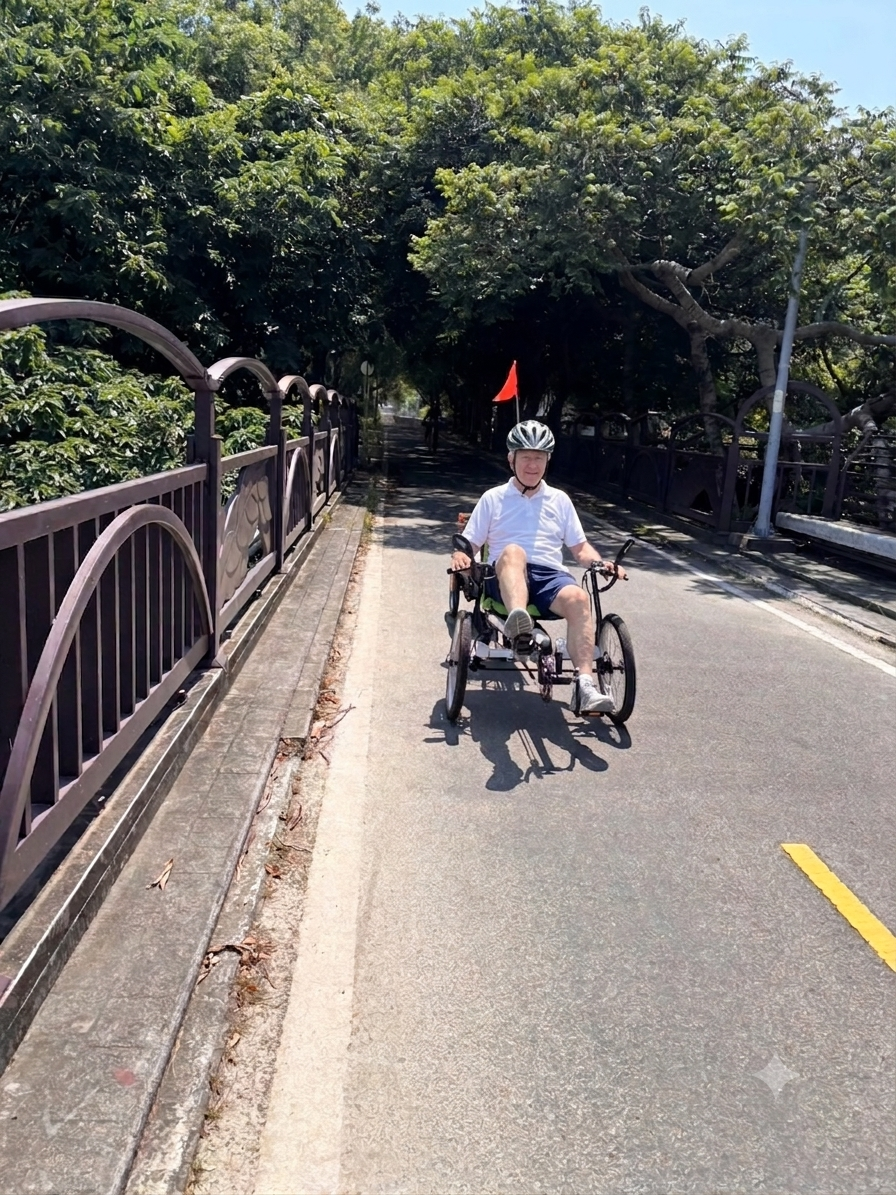
When dialing in your recumbent trike cockpit setup, your seat selection and lumbar support profile are the single biggest factors determining whether you ride 5 miles or 50 miles pain-free. Unlike traditional upright bikes that concentrate your entire body weight on two small sit-bone contact points, a recumbent trike distributes your weight evenly across your entire back, lower lumbar spine, and hips. Choosing between a mesh seat and a hardshell seat—and fine-tuning its contour—is essential for achieving zero-pressure endurance riding.
Mesh Seat vs. Hardshell Seat: Feature Comparison
Here is how the two seat styles compare across the features that matter most for endurance riding, climate comfort, and power transfer.
Support Style
- Mesh seat: Contoured tension mesh that conforms to your body curves and absorbs micro-vibrations.
- Hardshell seat: Rigid composite shell that delivers direct power transfer and zero flex loss.
Breathability
- Mesh seat: Exceptional airflow—ideal for warm climates and long summer tours.
- Hardshell seat: Requires channel-vented foam padding to manage heat buildup.
Pedaling Efficiency
- Mesh seat: Slight flex absorption favors touring, leisure, and rough-road comfort.
- Hardshell seat: Maximum efficiency with zero power loss during hard climbs and sprints.
Tuning Flexibility
- Mesh seat: Adjustable rear tension straps let you fine-tune lumbar firmness on the fly.
- Hardshell seat: Modular foam inserts allow custom contouring for your spine and hips.
Best For
- Mesh seat: Long-distance touring, hot weather, casual riding, and riders prioritizing comfort.
- Hardshell seat: High-speed cruising, steep climbs, performance riders, and racers.
How to Tune Your Seat for Optimal Spinal Alignment
1. Lumbar Curve Support
The lower lumbar region (the S-curve of your lower spine) requires solid contact. If your lower back arches over an unsupported gap, your core muscles will fatigue quickly from compensating.
On a mesh seat, locate the tension straps on the back of the seat frame. Tighten the straps directly behind your lumbar area to increase firmness, while slightly loosening the upper straps to create a supportive cradle. For a hardshell seat, place high-density EVA foam inserts or a specialized lumbar pad behind the seat cushion in the lumbar recess. Ensure full contact along your spine without creating awkward pressure points.
2. Recline Angle & Neck Ergonomics
Your seat recline angle directly dictates spinal load and forward vision. Upright angles above 45° shift body weight downward onto the pelvis and tailbone, negating the pressure-relief benefits of a recumbent position. Aggressive reclines below 30° deliver superior aerodynamics and pedaling power, but force your neck forward to watch the road, leading to neck strain.
The sweet spot is 35°–40°: the ideal balance for touring and endurance riding. If riding at a lower recline angle, always equip an adjustable neck rest to keep your head in a neutral position.
3. Hip & Thigh Pressure Relief
If the front edge of the seat cuts into your hamstrings during pedal extension, tilt the front of the seat pan downward by 1–2 degrees or shorten your boom length slightly. For hardshell seats, choose a 3D breathable mesh pad with non-slip backing to prevent your hips from sliding forward during hard braking or high-torque climbing.
Quick Diagnostic Guide
Use these simple symptom checks after your next ride to zero in on the right adjustment:
- Lower back aches after riding? Your lumbar curve is unsupported. Tighten the mid-section straps on your mesh seat or add thicker lumbar padding to your hardshell seat.
- Neck stiff or sore? Your seat is reclined too far back, or you lack proper neck rest support. Increase your seat angle by 2–3 degrees.
- Numbness in sit bones or tailbone? Your seat is too upright, placing too much weight on your glutes. Recline the seat back to distribute weight across your entire spine.
Key Takeaways for Pain-Free Riding
By matching the right seat material with precise lumbar and recline adjustments, you can achieve complete spinal support and true pain-free riding.
- Lumbar Support Tuning: Adjusting strap tension on a mesh seat vs. inserting EVA foam pads on a hardshell seat guarantees natural spinal alignment and prevents lower back fatigue.
- Recline Angle Selection: Setting your seat back between 35°–40° balances aerodynamic drag, pedaling leverage, and forward visibility without causing neck strain.
- Ergonomic Diagnostics: Correcting post-ride symptoms—such as tailbone pressure or neck soreness—is simply a matter of micro-adjusting seat recline and padding thickness.
Ride the difference yourself
OVELOX is a low step-through electric recumbent trike built for comfort, stability and pain-free long rides — designed with seniors and pet families in mind.
Contact OVELOXKeep reading
How Cycling Can Become Part of Your Weekend Routine
Learn how to build a sustainable weekend cycling routine with an electric recumbent trike. Discover route ideas, distance goals, safety checklists, and tips for seniors, pet families, and active-aging riders.
Electric Trike vs Mobility Scooter: Which Is Better for Seniors?
Compare electric trikes and mobility scooters for seniors: stability, comfort, exercise, range, speed, terrain, cargo, storage, and everyday lifestyle. Find the right active mobility choice.